CoderDojoBalwyn
 CoderDojoBalwyn
Welcome to this CoderDojoBalwyn website. CoderDojo is a free coding club for kids 7-17 and CoderDojoBalwyn was our local group in the eastern suburbs of Melbourne, Australia through to the end of 2022.
As of 2023 CoderDojoBalwyn no longer has a local group meetup after Boroondara Libraries decided to run STEM for kids in-house.
CoderDojoBalwyn thanks Boroondara Libraries for providing a room at Balwyn Library and ticketing over the years.
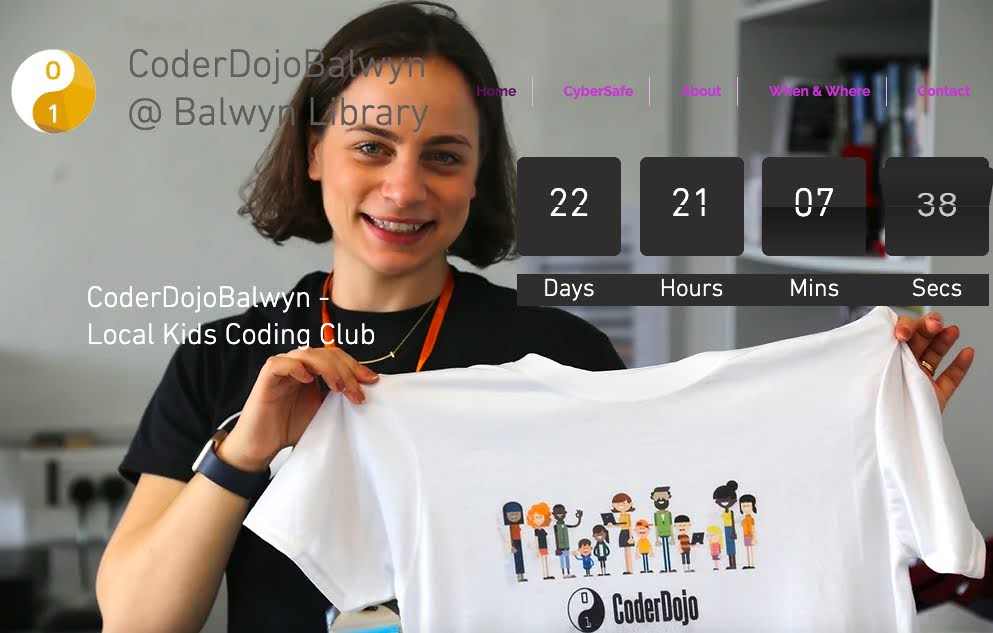
Below is a screenshot of the CoderDojoBalwyn website which was used to promote the club.

This wiki page is a collection of bits and pieces of info relating to computer science for kids 7 - 70!
| a | b | c |
|---|---|---|
code block |
code block |
code block |
code block |
code block |
code block |
(a) Bitsbox.com Apps
Hello World App - You can simply select and then copy the code below and past into a new blank app on bitsbox.com
chaseme = text('<>',100,100)
catchme = text('Hello World - You can\'t catch me!',100,500)
               function drag() {
  chaseme.move(x,y,100)
  if (chaseme.hits(catchme)) {
    catchme.move(random(1,400),random(1000))
  }
}
Monster Invaders App - You can simply select and then copy the code below and past into a new blank app on bitsbox.com
fill('pixel sky')
counter = 1
step = 30
points = 0
speed = 16
hero = stamp('pixel knight', 386, 880)
score = text(points, 345, 50, 'white')
message = text('Ready?', 300, 500, 50, 'white')


function tap() {
  sound('laser')
  shot = stamp('pixel sword', hero.x-50, hero.y)
  shot.move(NORTH, 1500, 2000)
  hero.move(x + 50, hero.y, 500)
}


function animate() {}


function column(i) {
  x = i * 110
  stamp('cyclops', x, 100)
  stamp('cyclops', x, 180)
  stamp('cyclops', x, 260)
  stamp('cyclops', x, 340)
}


function spawn() {
  message.change('')
  repeat(column, 5)
  loop = animate
}
delay(spawn, 2000)


function logic() {}


function march(alien) {
  alien.move(alien.x + step, alien.y)
}


function check(sword) {
  strikes = sword.hits('cyclops')
  if (strikes.length > 0) {
    sound('hit')
    strikes[0].explode()
    sword.hide()
    points = points + 100
    score.change(points)
  }
}


function animate() {
  find('pixel sword').forEach(check)
  counter = counter + 1
  if (counter>= speed) {
    counter = 1
    sound('putt putt')
    aliens = find('cyclops')
    aliens.forEach(march)
    logic()
  }
}


function drop(alien) {
  alien.move(DOWN)
}


function logic() {
  if (offscreen(aliens)) {
    step = -step
    aliens.forEach(drop)
    aliens.forEach(march)
  }
 if (aliens.length == 0) {
   loop = null
   message.change('Next wave.')
   speed = speed-2
   delay(spawn, 2000)
 }
  if (hero.hits('cyclops')) {
    hero.explode()
    message.change('Game over')
  }
}
(b) javascript apps
How to learn javascript properly
(c) favourite web apps
(d) github.com & vscode.dev
Microsoft have a couple of good webapps that may help you with your coding.
The first webapp is called github.com Create yourself a free github account and take a look further down this page for some of things you can do with it including creating your own website.
The second webapp is called vscode.dev
You may want to write or edit your code or Markdown with vscode.dev which is Microsoft’s code editor. Conveniently you can start using vscode.dev by signing in with your github username and password.
(e) github pages
customising css and html in your jekyll theme on github pages
how to add a favicon to github pages
For more details see Writing on GitHub / Basic writing and formatting syntax or GitHub Flavored Markdown
(f) Jupyter Notebook (interactive python)
Jupyter Notebook is an interactive version of python that conveniently runs in your internet browser.
You can install Jupyter Notebook after intalling the python language locally on you computer OR you can install Jupyter Notebook on the web with both github.com and mybinder.org
Once you’ve got Jupyter Notebook up and running here are some resources you might find useful to learn more:
(g) Keyboard and other commands for Jupyter Notebook
To execute code:
shift + enter
N.B. when working with Mardown in Jupyter Notebook, you will need to:
(a) select the cell
(b) type the m key to turn the cell into Markdown
(c) type shift + enter to show the contents of the cell as Markdown
Remember that there are two modes:
command mode & edit mode
In command mode:
move up and down cells with the ⇧ and ⇩ keys
m turns a cell into Markdown
y turns a cell into code
z undo cell operation
shift+x redo cell operation
c copy cells
v paste cells below
(h) Jupyter Turtle
from mobilechelonian import Turtle
t=Turtle()
colour = [ "red","purple","blue","green","orange","yellow"]
t.home()
t.pendown()
for c in range(360):
    t.pencolor(colour[c % 6])
    t.forward(c)
    t.left(59)

#sierpinski triangle #1
from mobilechelonian import Turtle
t=Turtle()
t.right(30)
t.speed(10)
def sierpinski(size, order):
    if order == 0:
        return
    else:
        for i in range(0,3):
            t.forward(size)
            sierpinski(size/2,order-1)
            t.backward(size)
            t.left(120)

sierpinski(100,5)

#sierpinski triangle #2
from mobilechelonian import Turtle
t=Turtle()
#move turtle to bottom right corner
t.penup()
t.speed(10)
t.backward(200)
t.right(90)
t.forward(200)
t.left(90)
t.pendown()

angles = [0, 120, 240]
colors = ["red","blue","purple"]


def draw_equi_triang(size):
    for i in range(3):
        t.forward(size)
        t.left(120)

def shift_turtle(size, angle):
    t.left(angle)
    t.penup()
    t.forward(size)
    t.pendown()
    t.right(angle)

def sierpinski(order, size, colorChangeDepth = -1):
    if order == 0:
        draw_equi_triang(size)
    else:
        if colorChangeDepth == 0:
            for (ind, angle) in enumerate (angles):
                t.pencolor(colors[ind])
                sierpinski(order-1, size/2, colorChangeDepth-1)
                shift_turtle(size/2, angle)
        else:
            for angle in angles:
                sierpinski(order-1, size/2, colorChangeDepth-1)
                shift_turtle(size/2, angle)

sierpinski(4,300)

#sierpinski triangle #3
from mobilechelonian import Turtle
t=Turtle()
#move turtle to bottom right corner
t.penup()
t.speed(10)
t.backward(200)
t.right(90)
t.forward(200)
t.left(90)
t.pendown()

angles = [0, 120, 240]
colors = ["red","blue","purple"]


def draw_equi_triang(size):
    for i in range(3):
        t.forward(size)
        t.left(120)

def shift_turtle(size, angle):
    t.left(angle)
    t.penup()
    t.forward(size)
    t.pendown()
    t.right(angle)

def sierpinski(order, size, colorChangeDepth):
    if order == 0:
        draw_equi_triang(size)
    else:
        if colorChangeDepth == 0:
            for (ind, angle) in enumerate (angles):
                t.pencolor(colors[ind])
                sierpinski(order-1, size/2, colorChangeDepth-1)
                shift_turtle(size/2, angle)
        else:
            for angle in angles:
                sierpinski(order-1, size/2, colorChangeDepth-1)
                shift_turtle(size/2, angle)

sierpinski(4,300,0)

(i) Markdown
Best Practice for writing with Markdown
(1) Don’t put tabs or spaces in front of your paragraphs and keep lines left-aligned
(2) End a line with two or more spaces ‘ ‘, and then type return
(j) Markdown resources
Markdown summary sheet
Paste to Markdown
(l) Create a great looking website using Jekyll minima theme and host for free on Github Pages
Remember you are not installing anything locally on your PC/Mac but are installing on Github on the internet so the first requirement is to already have or create a github account.
- sign in to your github account at github.com
- go to —> https://github.com/new/import
- import the following existing repository —> https://github.com/jekyll/minima
- configure your new website and then add content
(m) Embed youtube videos on your Jeckyll minima website hosted for free on Github Pages
https://github.com/nathancy/jekyll-embed-video
(n) Selecting Text in Columns in a PDF on a Mac
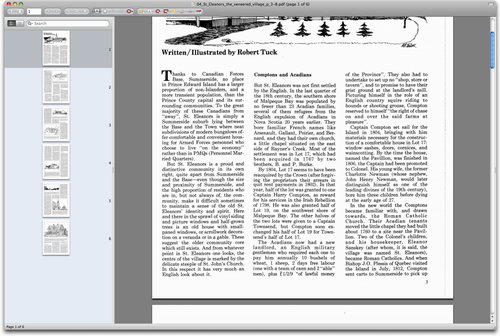
A solution to a constant source of frustration for me: I have a PDF — like this one — that has text formatted in multiple columns:

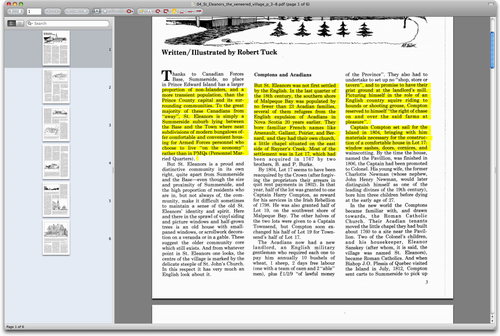
I want to copy some text from the PDF, but when I do this by simply clicking and dragging the mouse, all of the columns of text get selected:

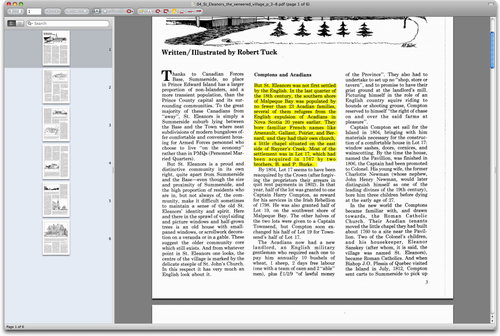
The secret: use Option + Drag to select the text. Hold down the Option key, in other words, while you drag a box around the text you want to select:

The result is just the text I want, from the single column I want it from:
But St. Eleanors was not first settled by the English. In the last quarter of the 18th century, the southern shore of Malpeque Bay was populated by no fewer than 23 Acadian families, several of them refugees from the English expulsion of Acadians in Nova Scotia 20 years earlier. They bore familiar French names like Arsenault, Gallant, Poirier, and Bernard, and they had their own church, a little chapel situated on the east side of Rayner’s Creek. Most of the settlement was in Lot 17, which had been acquired in 1767 by two brothers, B. and P. Burke.
(o) AirMessage - Cannot Connect an Account During Server Setup
Cannot Connect an Account During Server Setup
Hi there,
I had AirMessage running before upgrading to 4.x, and now upon setting up my server again I click “Connect an Account”, then the below popup to allow AirMessage to use localhost, then it opens Chrome and nothing happens.
I’ve been trying to figure out if I had made a home network change or something, but this happens when I’m on my phone’s hotspot as well. And I couldn’t find any resolution in the help docs.
Any one else having this problem?
Update: So I read a post further down talking about this same issue and they said they had to let Airmessage open chrome, meaning it couldn’t be open already. I installed chrome, opened it, then closed it changed it to my default browser. Opened Airmessage and clicked the Connect an account option. It opened Chrome and I had the option to login to my google account finally. Give that a try.
Update: After reading the above I set Safari as my default browser and then opened Airmessage server (on my Mac) and clicked the Connect an account option. It opened Safari and I had the option to login to my google account finally.
(p) importing AVCHD video files from Sony Alpha NEX-F3 camera SD card to apple mac and converting to MP4 via Handbrake
a. Put the SD card into the apple mac
b. Navigate to PRIVATE folder and select AVCHD file
c. right click AVCHD file and choose show package contents
d. select BDMV file and choose show package contents
e. click to open STREAM folder to reveal .MTS files
f. select a .MTS and open in Handbrake to convert to MP4
(q) downloading recent radio program episodes from abc.net.au
These programs are available at a URL such as :- https://www.abc.net.au/listen/programs/melbourne-breakfast/melbourne-breakfast/103135498 and you need to inspect the HTML using Google Chrome developer tools and search for the direct link to the audio which will look something like :- src=”https://mediacore-live-production.akamaized.net/audio/01/ok/Z/be.aac?source=web&content_id=103135498”
Next paste the link without talking marks and starting with https:// directly into a new browser window. You can then right-click and choose download which will download the audio file (AAC) to your computer.
<video class="jw-video jw-reset" tabindex="-1" disableremoteplayback="" webkit-playsinline="" playsinline="" src="https://mediacore-live-production.akamaized.net/audio/01/ok/Z/be.aac?source=web&content_id=103135498"></video>
(r) pair original amazon firetv remote with googletv box
How to Connect Firestick Remote to Chromecast with Google TV
amazon firetv remote model # CV98LM
a. reset firetv remote as follows:
Press and hold the Left button, Menu button, and Back button at the same time. Hold them for 12 seconds. Release the buttons and wait 5 seconds. Remove the batteries from your remote.
b. open up bluetooth device remote settings on googletv box using current remote
c. select add new device on googletv box using current remote
d. amazon firetv remote should appear on googletv box
e. press and hold “home” button on amazon firetv remote for 10 seconds
f. using current remote select amazon firetv remote
(s) pair original amazon firetv remote with android phone
amazon firetv remote model # CV98LM
a. reset firetv remote as follows:
Press and hold the Left button, Menu button, and Back button at the same time. Hold them for 12 seconds. Release the buttons and wait 5 seconds. Remove the batteries from your remote.
b. on android phone open up developer settings –> show bluetooth devices without names and toggle switch on.
c. on android phone go to settings –> connected devices –> + Pair new device
d. amazon firetv remote should appear under available devices
e. press and hold “home” button on amazon firetv remote for 10 seconds
f. on android phone select amazon firetv remote
Once paired successfully Amazon Fire TV Remote will show under Connected devices “other devices” list
(t) To remove spaces from text using Sublime Text, you can use regular expressions combined with Sublime Text’s find and replace feature.
Here’s how you can do it:
- Open Sublime Text.
- Press Ctrl + H (Windows/Linux) or Cmd + Alt + F (Mac) to open the Find and Replace dialog.
- Make sure the regular expression option is enabled. You can do this by clicking the .* button on the left of the search field, and selecting .* to enable regular expressions.
- In the “Find What” field, enter the regular expression for spaces. For example, you can use \W to find whitespace including punctuation!
- Leave the “Replace With” field empty to remove the matched characters.
- Click on “Replace All” to remove all spaces from the text.
The operator \W is a regular expressions or regex and more details can be found: regex
(u) Chrome Tab Navigation commands
navigate between chrome browser tabs with: cntrl-tab AND shift cntrl-tab
(v) Python install from python.org to MacOS Catalalina
On a Mac, the location /Library/Frameworks/Python.framework/Versions/3.6/bin/python3 indicates that Python 3.6 has been installed using a Python installer from the official Python website or another similar source, rather than being the system’s default Python. Here’s some detailed information about this setup:
What It Means
-
Custom Installation: The Python installation in
/Library/Frameworks/Python.frameworkis a custom installation that resides in a directory specifically designed for frameworks on macOS. This is separate from the system Python installation that comes pre-installed with macOS, which is typically found in/usr/bin. -
Python Version: The path indicates that Python version 3.6 is installed. This version will remain fixed unless you explicitly upgrade or change it.
Benefits
-
Isolated from System Python: This custom installation is isolated from the system Python, which helps prevent conflicts with the macOS system scripts and other applications that rely on the default Python.
-
Easier Upgrades and Management: Managing and upgrading Python installed in
/Library/Frameworksis more straightforward and less risky compared to altering the system Python. -
Framework Benefits: The framework installation can be beneficial for certain applications and libraries that might expect Python to be installed in this location.
Managing Your Python Installation
-
Using Virtual Environments: Even with a custom installation, it’s a good practice to use virtual environments to manage dependencies for different projects:
bash
Copy code
/Library/Frameworks/Python.framework/Versions/3.6/bin/python3 -m venv myenv source myenv/bin/activate -
Updating Python: If you want to update your Python installation, you will need to download and install a new version from the official Python website. You can then change the path to point to the new version.
-
Package Management: Use
pipto manage your Python packages within your virtual environment:bash
Copy code
/Library/Frameworks/Python.framework/Versions/3.6/bin/python3 -m pip install package_name
Checking Your Python Path
To verify which Python binary you are using, you can use the which command:
bash
Copy code
which python3
To ensure you are using the correct Python binary, you might need to adjust your shell’s PATH environment variable or specify the full path to the Python interpreter:
bash
Copy code
export PATH="/Library/Frameworks/Python.framework/Versions/3.6/bin:$PATH"
Summary
The Python installation located at /Library/Frameworks/Python.framework/Versions/3.6/bin/python3 on your Mac indicates a custom installation, providing isolation from the system Python and facilitating easier management of Python versions and dependencies. For best practices, continue using virtual environments and manage packages within these environments to maintain a clean and conflict-free development setup.